It can take between four and nine hours to smoke a Boston butt depending on the size and shape of the Boston. For a six-pound Boston butt, it takes approximately 1.5 hours per pound and can take nine hours to smoke. When done properly, a six-pound Boston butt can reach 145 degF in four to six hours. It can still be eaten at lower temperatures.
225degF
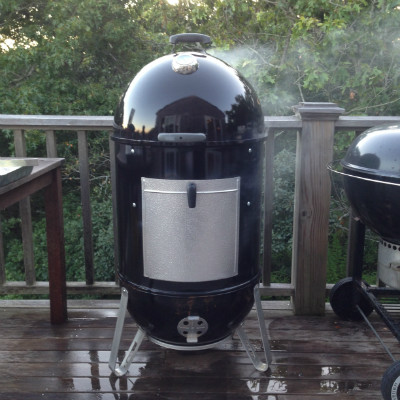
If you're looking for a tasty, tender Boston butt, a 225degF smoker should do the trick. It will take eight to ten hours for a 6-pound boneless pork shoulder to achieve the desired tenderness. A 10-pound boneless pork shoulder can be smoked in an oven at 250°F for 8-10 hours. A six-pound Boston butt will take about one and a half hours to reach the recommended internal temperature.
The temperature of 225 degrees Fahrenheit is fine for smoking a Boston Butt, but it makes a huge difference in the quality of the finished product. This allows the meat fibers of the meat to relax and makes pulling it much easier. A beer cooler is an excellent container for resting the meat after smoking. Care should be taken not to tear the foil when wrapping the meat. Wrap the meat in a towel and place it in the beer cooler. Allow it to rest for at most one hour before you cut into it.
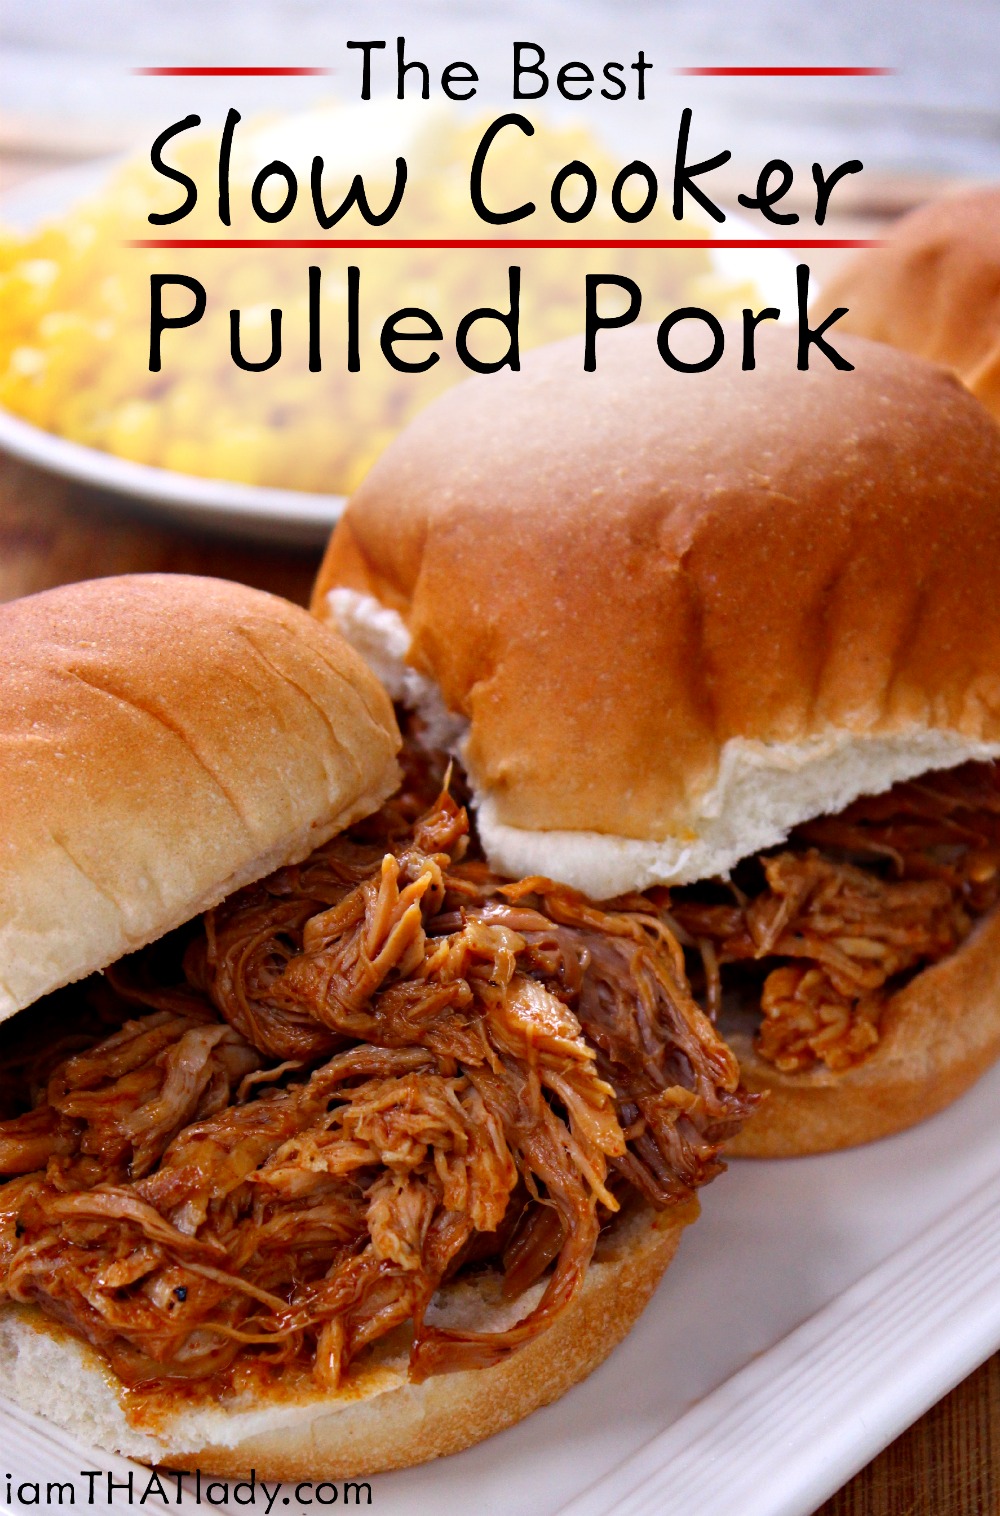
It is best to marinate a Boston butt the night before you plan to smoke it. Smoking time depends on the size of the roast, but for a smaller roast, you can marinate it overnight, if you prefer. Once the butt is at the desired temperature, it should be fall-apart tender. It will also have a thick bark. This chewy jerky coating gives the pork its name.
Once the meat has reached the desired internal temperatures, it can be sliced and grilled. To make the meat tender and juicy, use a thermometer or a meat thermometer to test the meat. To ensure safety, the Boston butt should achieve a temperature of between 145 and195 degrees. If it's not ready after two hours, wrap it tightly in foil and continue smoking until the meat reaches the desired temperature.
Proper spritzing
First, you must know the exact cooking time of your Boston butf. The end of the smoking process is the best time to spray the pork. Once the pork has rested, shred it, and glazed it, you can apply a sugary spritz. For those on a strict budget, apple juice can be used in place of the apple cider vin vinegar. You can also use pure maple syrup if you don’t want to spend too much.
Another crucial tip for spritzing when smoking a Boston butf is to use a dry spritzing liquid. This will preserve the meat's moisture. It is often made with apple cider vinegar. But, you can use other liquids in the past. This method is promoted by top bbq chefs as one of the most important steps in the smoking process. It keeps the bark from drying out. Additionally, it preserves the meat's moisture, which results in a lovely smoke ring.
When wrapped, pork should reach a minimum temperature of 165 degrees Fahrenheit. Use a remote probe meat temperature monitor to monitor the internal temperature. If you want to have sliced pork or a pulled pork sandwich, make sure the internal temperature of the pork butt is between 165 degrees F. Once the pork has reached the desired temperature, wrap it in butcher paper or foil, insert the meat thermometer and check it.
Apple cider vinegar, or apple juice can be mixed in an equal quantity to preserve the meat's tenderness. You should apply the mixture only to the meat's outer surface after it reaches stall temperature. Avoid spraying meat underneath. This will cool the meat and increase the moisture content, which can cause the smoker to be less efficient. The perfect temperature for Boston butts is 195 degrees.
Creating a dark mahogany crust
This is how you make this delicious smoked meat. This is due to particles of smoke sticking on the seasoning. The bark can range in color from deep red to black and imparts a powerful smoke flavor. You can make your meat irresistible with the bark. For the best results, bake your Boston butt at 225 to 250 degrees for 5-8 hours. Let it rest for 2 hours before carving. Enjoy the delicious flavor.
There are two key steps to smoking meat. Apply the rub to the butt. It should be moistened but not too damp. Secondly, apply the rub generously over the meat. This will allow the flavors of the meat to penetrate. Smoke will also help you create the dark mahogany crust. Then, remove the butt from the smoker. After the butt has sat for at least eight hours you can add more spices and rub the meat.
Next, use a mustard as a base for the dry rub. The dry rub will stick better to meat if it is made with mustard. You can either use honey mustard or fancy Dijon. Rub it in all cracks and crevices. Don't be afraid getting your hands dirty. The rub can be applied with a few good jokes.
Once the butt has reached the correct internal temperature, you may take it out and enjoy your Boston-smoked butt. The meat should reach 190 degrees. Allow the meat to cool for at minimum 30 minutes before you remove it. You will avoid burning your fingers when you enjoy your creation. The process of smoking a Boston butt will take approximately 14 hours.
Use a dry rub
One of the most important steps in smoking Boston butt is choosing a flavor-enhancing wooden. Next is the preparation of your dry rub. Dry rubs that are successful are well-balanced. They contain a mix of strong and mild spices. You can alter the proportion of any spice to achieve your desired flavor profile. You can add onion powder, brown sugar or smoked paprika to make it more flavorful.
A dry rub is made up of smoked paprika (smoked paprika), salt, brown sugar and chili powder. After you've prepared the rub, place it in an airtight bottle in a dry, cool place. MasterClass Annual Members get access to video lessons by the best chefs in the world. You'll have access to over a dozen recipes, including the Boston butt favorite!
For the best flavor, make sure to prepare your smoked Boston butt the day before. While the meat can be smoked the next day, you should let it rest for a day. This will make the meat more tender and flavorful. Once the dry rub is applied, it's time to inspect the meat for any dry spots. If any parts are dry, you can spritz them with apple juice.
Next is to prepare your meat. Most cuts of pork are simple to prepare. This means no extra cutting or thinning required. A good rub is also rich in salt. Salt adds flavor to the meat and acts as heat conductor. It prevents overcooking. The rub should contain a sweet component that counters the spicy flavor.
Resting a butt
The resting period makes a significant difference in the quality of smoked Boston butt. The foil allows the juices to return to the meat and makes it easier to cut the pork. A beer cooler is the perfect container to rest your meat. To prevent your meat from drying out, wrap it in foil and place it inside the cooler. Next, allow the meat to rest for 30 to 45 minutes.
To rest a Boston butt, first, make sure that it is completely cool. The meat will become dry and hard if it's too warm. The second thing to do is not cut the meat too soon after it has been cooked. A meat that has been cooked long enough should be allowed to rest. This will allow the meat to absorb any moisture lost during cooking. Ripping meat too soon or too early can result in a loss of moisture.
Tin foil can help retain heat. Long rests may require you to double wrap the foil. A short rest will usually require two layers. A second layer of foil will be needed if you intend to leave the Boston butt in place for several hours. Aluminum foil can be used to wrap the Boston butt, but you should make sure that it is placed on a deep-grooved baking sheet.
During the resting period, the internal temperature of meat will rise by five degrees. The meat's flavors will be absorbed by the resting time. The meat should be pulled from the smoker when it reaches 195 degrees F. Pulling it too early can result in over-cooking and dryness. To get the best results, give your Boston butt time to rest.
FAQ
Is it possible to be self-taught?
You can learn to cook by yourself! The joy of cooking is something that everybody enjoys doing, no matter their skill level. Learn how to cook at home. Start small, like making pancakes for breakfast or spaghetti sauce for dinner. You can learn the most by trying new recipes and making mistakes. You may even want to make a few mistakes along the way.
You can learn to cook in a matter of hours or weeks depending on your level of cooking ability. It's important to remember that cooking isn't just about following recipes. There are many ways of cooking food. So if you have an idea for a recipe, use it.
What should a novice cook do first?
Start cooking something simple, such as pasta, rice, soup. A recipe book or a YouTube video can help you learn how to cook. Cooking can be fun when done with a partner. You can cook together as a family or with friends.
Is there a difference in a chef and a cooker?
A chef cooks for others. A cook prepares food for himself or herself. Although both jobs require you to prepare food, a chef is more involved in serving customers. They may need to make decisions about what they will serve to their guests based upon their preferences. The cook does not have to interact directly with customers. Instead, a cook makes sure the food tastes good before delivering it to customers.
How do I get hired as chef?
The first step toward getting a job as a chef is to complete a culinary arts degree. You can then join a professional group such as ACF. This organization provides certification exams and offers networking opportunities.
How Long Does It Take to Be a Chef? What is the average career path in this field?
Five years is required to become a professional chef. This time you'll learn the basics of cooking and work as a cook assistant. You can apply for line, sous or executive chef positions after you complete your training. A chef can earn between $25,000 and $60,000 annually.
What are the benefits of using a slow cooker?
Slow cookers are useful because they can make delicious meals in a fraction of the time. Slow Cooker Recipes are often healthier than traditional recipes because they require less oil and fat. Slow cooker recipes are also convenient as they can take care of themselves while your sleep.
How to Become a Chef?
There are many avenues to become a professional chef. Begin by enrolling at a community college. You might also consider going to culinary school. A paid internship is another option.
Statistics
- According to the BLS, chefs earn $58,740 a year. (learnhowtobecome.org)
- You'll be amazed that over 90% of CIA students receive scholarships and grants to finish their culinary studies. (ischoolconnect.com)
- In the United States, the category is estimated at $23.2 billion annually and is growing faster than the market. (washingtonpost.com)
External Links
How To
How to cook with Air Fryer
Air fryers are cooking appliances that fry food without oil and grease. It steams food using hot air, making it healthier that deep frying. Air fryers are different from conventional ovens in that they don't heat food below 400°F (204°C). You don't need to worry about cooking because the flame is not in direct contact with your food. It doesn't require oil so it is healthy and green. However, some people say that it produces too much fat.
The first version of an air fryer was invented in Japan around 1970. In 1980, America sold the first air fryer. Many companies have since developed new models for air fryers. There are many options for air fryers today. Some models have temperature controls, timers and LCD screens. They are generally made of stainless or aluminum. Some models even have a built-in barbecue, which can be used at home to grill meats or vegetables. These appliances can either be purchased online, at Target, Walmart or Costco as well as in Best Buy, Sears, Sears, Amazon and other stores.
Air fryers are popular with busy families who like to make quick meals. They can make French fries or chicken, french fries, onion rings or pizza. They can also be used to bake cookies and cakes. They are also great for baking cookies and cakes, which is a good idea if your goal is to relax after work.
An air fryer is essential for creating a perfectly cooked meal. Before you begin to cook, it is important to heat up the air fryer. You then place the food into the basket. Close the lid. You will need to wait until the machine reaches the correct temperature. After that, turn it on and let it cook for the desired time. The lid should not be opened during cooking to ensure crispy food. However, you can lift the lid occasionally for greasy food. When done, remove the food from the basket and serve immediately.
There are many air fryer recipe sites online. However, it is important to understand the ingredients that go together when making your own air fryer. If you are interested in learning how an electric cooker can cook, here are some tips:
-
Don't add too much salt to the food; otherwise, it won't taste good.
-
Be sure to keep all food items separated before you place them in the basket.
-
Always place food on the sides of your basket.
-
To flip food over, you can use a spatula.
-
Don't forget to clean the basket regularly.
-
Take care when lifting the lid.